

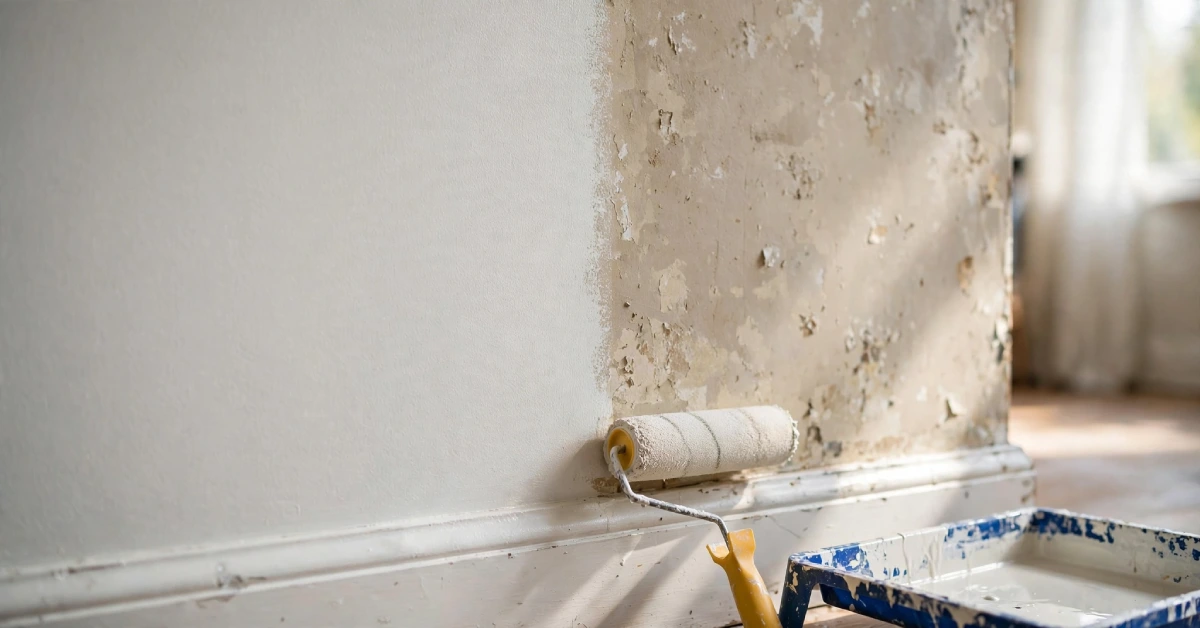
To fix uneven paint, first identify the cause: skipped primer, low paint volume, or an unmaintained wet edge are the most common. Lightly sand rough spots, wipe away dust, then apply one full, even coat across the entire wall rather than touching up small patches. This gives a consistent finish and matching sheen.
Stand back after your last coat dries and you notice patches that look darker, lighter, or duller than the rest of the wall. That is uneven paint, and it is one of the most common letdowns after a weekend spent painting.
Recent research backs this up. A 2026 roundup of DIY home improvement statistics found that 44% of DIYers made a mistake during a project and had to redo their work. Painting mistakes make up a large share of that number, and uneven coverage is near the top of the list.
The good news is that almost every case of uneven paint can be corrected without repainting the entire room from scratch. This guide walks through why paint dries unevenly, how to fix each type of problem, and how to prevent it on your next project.
Why Does Paint Look Uneven on Walls
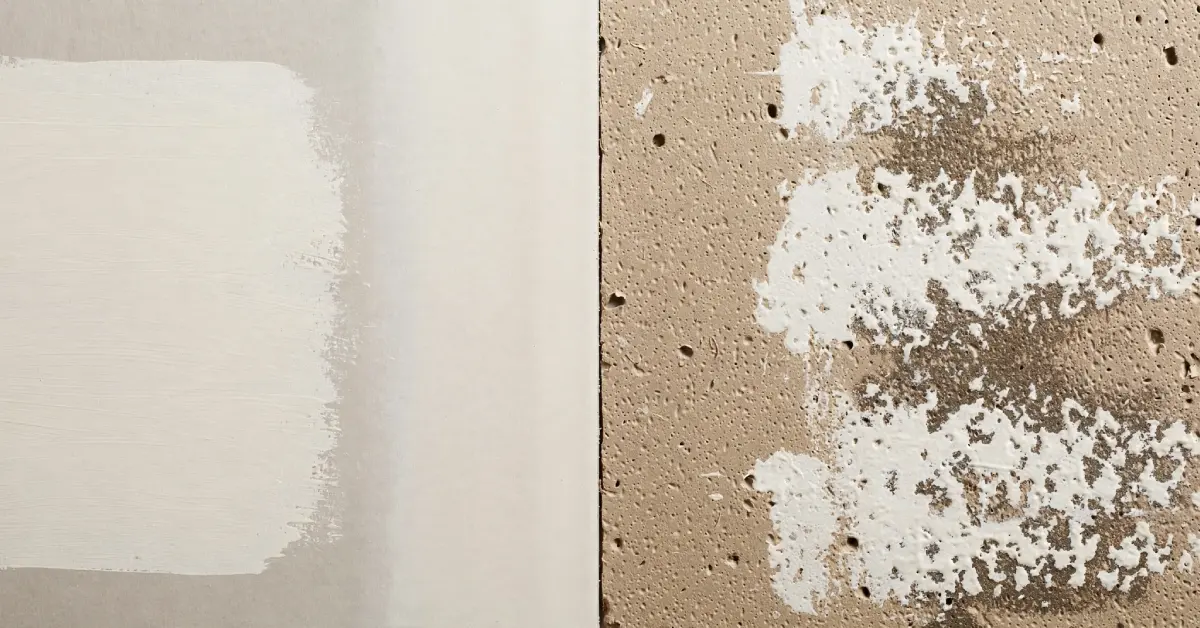
Paint looks uneven for a handful of predictable reasons, and most of them trace back to preparation rather than the paint itself. According to research cited by professional painting company Dreamscape Painting, studies from the Paint Quality Institute show that up to 80% of paint failures come from improper surface preparation, not a flaw in the paint.
That single statistic explains why so many DIY jobs end up patchy. Skipping a step early in the process shows up later as a visible flaw on the wall.
The most common triggers include:
- Painting over a surface that was not cleaned, sanded, or primed first
- Applying too little paint, which leaves thin or see-through spots
- Losing the wet edge, which creates visible lines where sections overlap
- Using the wrong roller nap for the wall texture
- Skipping a second coat on a colour change or a repair patch
- Painting in a room with big temperature or humidity swings
Common Causes of Blotchy, Patchy Paint
Blotchy paint usually points to inconsistent absorption. Bare drywall, patched areas, and old paint all soak up new paint at different rates. Without a primer to even out that absorption, the topcoat dries in visible patches rather than one uniform tone.
Old or unstirred paint is another frequent culprit. Paint separates over time, and the pigment and binder can settle unevenly in the can. If you skip a thorough stir, some sections of the wall get more pigment than others, and the colour looks inconsistent even under the same lighting.
Humidity and temperature also play a bigger role than most people expect. Sherwin-Williams notes that paint applied at an uneven film thickness, along with exposure to moisture or condensation while drying, is a direct cause of an uneven, flashing appearance in the finished coat. Painting on a humid afternoon or right after a hot, sunny window session can leave one part of the wall drying faster than the rest.
Lighting in the room can also make a bigger difference than people expect. A wall that looks flawless under warm evening lamps can suddenly reveal every roller mark under bright daylight from a window. If you are unsure whether a wall genuinely needs a fix or simply looks different under certain light, check it at two or three points during the day before deciding on a repair plan.
How to Fix Uneven Paint Step by Step
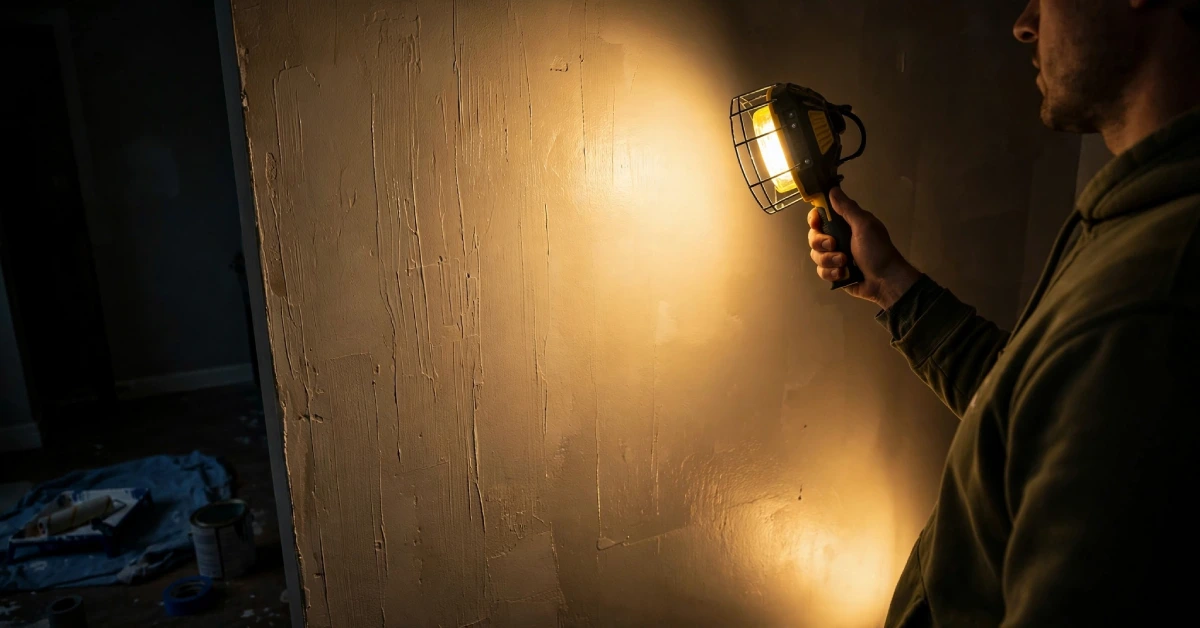
Once you know the likely cause, the fix follows a simple sequence. Work through these steps in order rather than jumping straight to another coat of paint:
- Inspect the wall in raking light. Turn off overhead lights and shine a lamp sideways across the surface. This reveals streaks, thin spots, and texture differences that are invisible under normal lighting.
- Lightly sand any raised or rough areas. Use fine-grit sandpaper on a sanding block and work in gentle circles until the surface feels smooth to the touch.
- Wipe away all dust with a damp cloth. Dust left behind will show through the new coat as tiny bumps or a dull texture.
- Prime bare, patched, or heavily absorbent spots. A quick coat of primer evens out how the topcoat is absorbed, which is the single biggest factor in a consistent finish.
- Apply one full, even coat across the whole wall. Painting only the problem area almost always creates a visible patch. Covering the entire wall blends old and new paint into one continuous layer.
- Maintain a wet edge as you work. Always paint from the dry section back into the just-painted section, never the other way around, to avoid new lap lines.
Once your walls have an even, consistent finish, it becomes much easier to plan the rest of the room with confidence. If you are refreshing more than just the paint, our guide to living room decor ideas is a useful next stop for pulling the whole space together.
Fixing Paint Flashing and Uneven Sheen
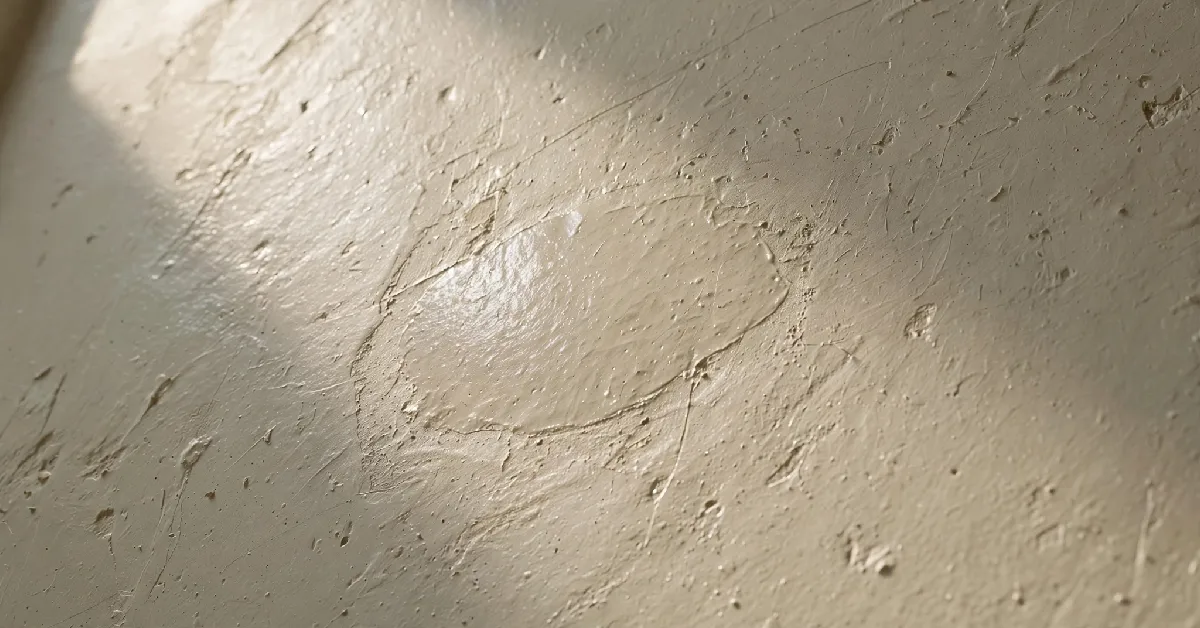
Sometimes the colour is right, but parts of the wall look shinier or flatter than the rest. This is known as paint flashing, and it is a sheen problem rather than a colour problem. Sherwin-Williams explains that flashing can result from coating over a porous surface, applying the paint too thin, or using a gloss finish in an area that gets direct sunlight.
To fix uneven sheen:
- Lightly sand the affected section to knock down any texture differences
- Spot-prime patched or repaired areas so they absorb paint the same way as the surrounding wall
- Apply a full coat across the entire wall rather than only the flashing spots
- Stick to a single product and finish for the whole surface, since mixing brands or sheens rarely blends well
Repainting the full wall is usually the most reliable fix for sheen problems. Touching up only the flashy patch tends to create a new, smaller patch instead of solving the issue.
How to Fix Streaks and Roller Marks
Streaks usually come from one of two habits: not enough paint on the roller, or working the same section too many times after it starts to tack up. Both leave visible lines where the roller dragged across a surface that was already partly dry.
To fix streaks, let the current coat dry completely first. Sand any raised ridges with fine-grit paper, then wipe the wall clean. Reload the roller generously, apply the paint in a W or M pattern to distribute it evenly, then smooth it out with light, parallel strokes in one direction. Keep a wet edge throughout so each new roller load blends into the section before it dries.
Quality tools make a real difference here. A roller with the correct nap for your wall texture holds more paint and releases it more evenly, which reduces the chance of streaking on the very first pass.
Correcting Uneven Paint Lines and Edges
Crooked lines and rough edges are most visible where the wall meets the ceiling, trim, or an accent colour. These problem areas come from moving too quickly during the cutting-in stage, before the main rolling begins.
To fix an uneven line, let the existing paint dry fully. Apply painter’s tape along the border, pressing it down firmly with a putty knife so paint cannot bleed underneath. Load a small angled brush, then apply the paint using light, controlled strokes that follow the line rather than cutting across it. Remove the tape while the final coat is still slightly wet to prevent peeling.
If you are working on an accent wall ahead of a holiday gathering, getting these edges crisp matters even more, since guests tend to notice trim lines up close. Our roundup of Christmas decor ideas for living rooms has more inspiration for pairing a freshly painted accent wall with seasonal styling.
Tools and Prep That Prevent Uneven Paint
Prevention is far less work than repair. A short prep routine before your next project will avoid most of the problems covered above:
- Clean the wall to remove dust, grease, and old residue
- Repair dents, nail holes, and cracks, then sand them flush
- Prime bare patches, water stains, and any surface with a different texture than the rest of the wall
- Choose a roller nap suited to your wall texture, typically 3/8 inch for smooth drywall
- Stir the paint thoroughly before and periodically during application
- Paint in moderate temperature and humidity, and avoid direct, hot sunlight on the wall
Following this list before you open the paint can is the most reliable way to get a professional-looking result on the first attempt.
When You Need to Repaint the Wall
Minor streaks or a single thin patch can often be fixed with light sanding and a careful touch-up. But once the issue involves mismatched sheen, widespread patchiness, or a touch-up colour that has visibly aged compared to the rest of the wall, a full repaint of that wall is the more reliable option.
Painting wall to wall, corner to corner, in one session avoids the layered look that comes from stacking touch-ups on touch-ups. It also gives you a natural stopping point to reconsider your finished layout. Once the walls are done, our living room wall decor ideas guide can help you plan artwork and shelving that works with the new colour.
FAQs About Fixing Uneven Paint
Why does my paint look patchy after two coats?
Patchiness after two coats usually means the surface underneath was not primed evenly. Bare drywall, old patches, and previously painted areas all absorb paint differently, so the colour looks inconsistent until a primer levels out that absorption.
Can I fix uneven paint without repainting the whole wall?
Small, isolated streaks or thin spots can sometimes be fixed with light sanding and a careful touch-up. Wider issues, such as flashing or mismatched sheen, usually need a full coat across the entire wall to blend evenly.
How long should I wait between coats to avoid streaks?
Most interior paints need two to three hours of drying time between coats. Painting over a tacky surface is one of the most common causes of visible lap marks and streaks.
Does the type of roller affect how even the paint looks?
Yes. A roller nap that is too short for a textured wall will leave thin spots, while a nap that is too long can create a heavier, uneven texture on a smooth surface. Matching the nap to your wall type improves consistency.
Is uneven paint sheen the same as uneven colour?
No. Uneven sheen, sometimes called paint flashing, is a difference in gloss or shine across the surface, while uneven colour is a difference in pigment or tone. They have different causes and are fixed slightly differently, though both often benefit from priming patched areas before the final coat.